Hey there! As a supplier of Pipe Saddle Support, I've seen firsthand how crucial it is to align these supports correctly. In this blog, I'll walk you through the process step by step, sharing some tips and tricks along the way.
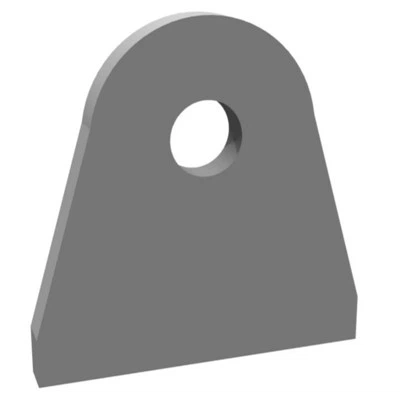
First things first, let's talk about what a Pipe Saddle Support is and why alignment matters. A Pipe Saddle Support is a type of support used to hold pipes in place. It provides stability and prevents pipes from sagging or moving, which can lead to leaks, breaks, and other issues. Proper alignment ensures that the support can effectively distribute the weight of the pipe and any contents it carries, reducing stress on the pipe and the support itself.
Pre - alignment Checks
Before you start aligning the pipe saddle support, you need to do some checks. First, examine the pipe. Look for any signs of damage, such as dents, cracks, or corrosion. If you find any issues, it's best to address them before proceeding with the alignment. You also need to measure the pipe's diameter accurately. This measurement is crucial because the saddle support needs to fit snugly around the pipe.
Next, inspect the support itself. Check for any manufacturing defects, like uneven surfaces or misaligned holes. Make sure all the parts are present and in good condition. If you're using additional components, such as bolts or clamps, check them too.
Marking the Installation Points
Once you've completed the pre - alignment checks, it's time to mark the installation points on the pipe. You can use a chalk or a marker for this. Decide on the spacing between the supports based on the pipe's size, weight, and the type of fluid or gas it will carry. As a general rule, the spacing should be such that the pipe doesn't sag between the supports.
For larger pipes or those carrying heavy loads, you may need to space the supports closer together. You can refer to industry standards or consult an engineer for specific recommendations. After marking the points, double - check your measurements to ensure accuracy.
Positioning the Saddle Support
Now, it's time to position the saddle support on the pipe. Carefully place the support at the marked installation point. Make sure it's centered on the pipe. You can use a level to ensure that the support is horizontal. If the support is not level, it can cause uneven stress on the pipe, leading to potential problems down the line.
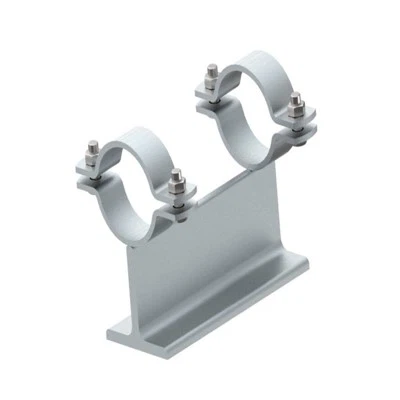
If you're using a T - Type Pipe Supports with Clamp, you'll need to attach the clamp securely. Start by placing the clamp around the pipe and the saddle support. Then, tighten the bolts gradually and evenly. This will prevent the clamp from pulling the support out of alignment.
Adjusting the Alignment
After positioning the support, you may need to make some adjustments. Use a measuring tape to check the alignment in multiple directions. Measure the distance between the support and a reference point, such as a wall or another fixed structure. Make sure the support is parallel to this reference point.
If the support is out of alignment, you can use shims to correct it. Shims are thin pieces of material that can be placed under the support to raise or lower it. Insert the shims carefully, and re - check the alignment after each adjustment. Keep making small adjustments until the support is perfectly aligned.
Securing the Support
Once the alignment is correct, it's time to secure the support. If you're using bolts, tighten them to the recommended torque. Over - tightening can damage the support or the pipe, while under - tightening can cause the support to loosen over time. You can use a torque wrench to ensure accurate tightening.
If you're using a T - Type Pipe Support with Wear Pad, make sure the wear pad is properly installed and in contact with the pipe. The wear pad helps reduce friction between the pipe and the support, which is especially important if the pipe moves due to thermal expansion or vibration.


Final Checks
After securing the support, do a final inspection. Check the alignment one more time to make sure it hasn't shifted during the securing process. Look for any signs of stress on the pipe or the support, such as bending or cracking. Make sure all the components are tightened and in place.
It's also a good idea to test the system if possible. If it's a water pipe, turn on the water and check for any leaks or unusual movements. If it's a gas pipe, perform a pressure test according to safety regulations.
Tips and Tricks
- Use proper tools: Always use the right tools for the job. A good set of wrenches, a level, and a measuring tape are essential.
- Work in teams: For larger pipes or complex installations, it's better to work with a team. This can make the alignment process faster and more accurate.
- Keep records: Document the alignment process, including measurements, torque values, and any adjustments made. This can be useful for future maintenance or inspections.
Conclusion
Aligning a pipe saddle support correctly is not a difficult task if you follow the right steps. It's an important part of ensuring the long - term performance and safety of your piping system. As a Pipe Saddle Support supplier, I know how much of a difference proper alignment can make.
If you're in the market for high - quality pipe saddle supports or have any questions about the alignment process, I'd love to hear from you. Feel free to reach out to us to discuss your requirements and get started on your next project.
References
- Pipe Support Design Manuals
- Industry Standards for Pipe Installation and Support