Hey there! As a sight glass supplier, I often get asked about how to install a sight glass in a tank. It's a pretty common question, and I'm here to walk you through the whole process. Installing a sight glass can be a game - changer when it comes to monitoring what's going on inside your tank, whether it's a water tank, a chemical tank, or any other type of container.
What You'll Need
First off, let's talk about the tools and materials you'll need. You'll obviously need the sight glass itself. Make sure you've got the right size and type for your tank. There are different shapes, sizes, and materials available, so choose one that suits your specific needs. You'll also need a gasket. The gasket is super important as it creates a tight seal between the sight glass and the tank, preventing any leaks.
For the installation process, you'll need some basic tools. A drill is essential if you're going to create holes for the bolts or screws that will hold the sight glass in place. You'll also need a wrench to tighten those bolts. And don't forget a measuring tape to ensure you're placing the sight glass in the right spot and that all the holes are drilled in the correct positions.
Pre - installation Checks
Before you start drilling and installing, there are a few things you need to check. First, examine the tank where you're going to install the sight glass. Make sure the surface is clean and free of any debris, rust, or paint. A dirty surface can prevent the gasket from creating a proper seal. You can use a wire brush or sandpaper to clean the area if necessary.
Next, measure the area where you plan to install the sight glass. Double - check the dimensions of the sight glass and make sure it will fit properly. You don't want to end up with a sight glass that's too big or too small for the opening.
Marking the Installation Area
Once you've cleaned and measured the area, it's time to mark where you're going to drill the holes. Place the sight glass on the tank where you want it to be installed. Use a marker to mark the locations of the bolt holes on the tank. This will give you a clear guide when it's time to drill.
It's a good idea to mark the center of the sight glass as well. This will help you ensure that the sight glass is centered on the tank, which is important for both aesthetics and functionality.
Drilling the Holes
Now comes the drilling part. Put on your safety goggles and gloves before you start. Using the drill bit that matches the size of the bolts or screws you'll be using, carefully drill the holes at the marked locations. Make sure you drill straight and don't apply too much pressure, as this can crack the tank or cause the drill bit to break.
If you're working with a metal tank, you might want to use a lubricant on the drill bit to make the drilling process smoother. And if you're drilling into a plastic tank, be extra careful as plastic can be more prone to cracking.
Installing the Gasket
After you've drilled the holes, it's time to install the gasket. Place the gasket on the tank surface around the opening where the sight glass will go. Make sure the gasket is properly aligned and that there are no wrinkles or folds. The gasket should fit snugly against the tank surface.
Placing the Sight Glass
Now, carefully place the sight glass on top of the gasket. Align the holes in the sight glass with the holes you drilled in the tank. You might need a friend to help you hold the sight glass in place while you start inserting the bolts or screws.
Securing the Sight Glass
Once the sight glass is in place, insert the bolts or screws through the holes in the sight glass and into the holes in the tank. Use the wrench to tighten the bolts or screws. But don't over - tighten them! Over - tightening can damage the sight glass or the gasket, leading to leaks. You want to tighten them just enough to create a firm seal.
Additional Support (Optional)
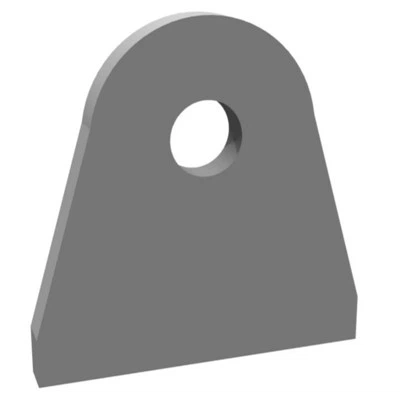
In some cases, you might want to add some additional support to the sight glass. For example, you can use Pipe Lugs to provide extra stability. Pipe lugs can be attached to the tank and the sight glass to prevent any movement or vibration.
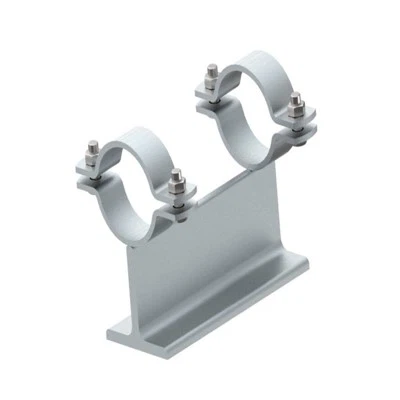
Another option is to use U - Type Bolt. U - type bolts can be used to secure the sight glass in place and can also help distribute the weight evenly.
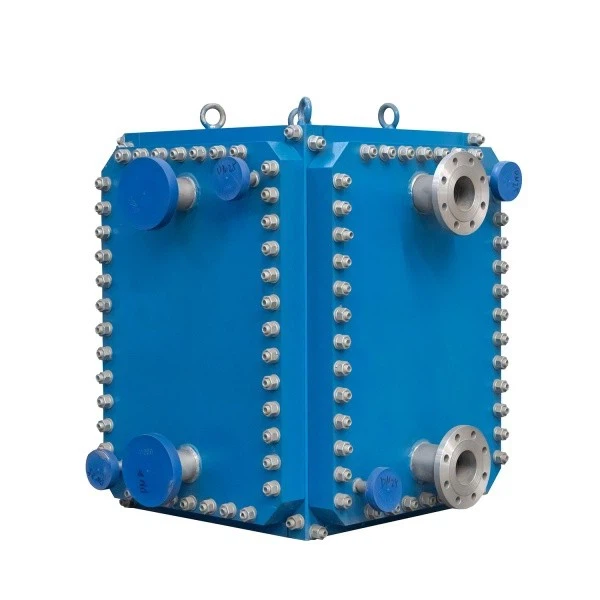
You can also consider using a Pipe Reinforcement Circle around the opening of the sight glass. This can strengthen the area around the sight glass and prevent any cracking or damage.

Post - installation Checks
After you've installed the sight glass, it's important to do a final check. Look for any signs of leaks around the sight glass. You can do this by filling the tank with a small amount of water or the liquid it will hold and observing if there are any drips.
Check the tightness of the bolts or screws again. Over time, they might loosen, so it's a good idea to give them a quick tighten if needed.
Conclusion
Installing a sight glass in a tank isn't overly complicated, but it does require some careful planning and attention to detail. By following these steps, you can ensure a successful installation. And if you have any questions or need more advice on choosing the right sight glass for your tank, don't hesitate to reach out.
As a sight glass supplier, I'm here to help you with all your sight glass needs. Whether you're looking for a replacement sight glass or planning a new installation, I've got a wide range of products to choose from. If you're interested in purchasing sight glasses or any related accessories, feel free to contact me for more information and to start a procurement discussion.
References
- General knowledge from years of experience in the sight glass supply industry.
- Industry - standard installation guides for sight glasses.